How To Put Training Wheels On A Bike?

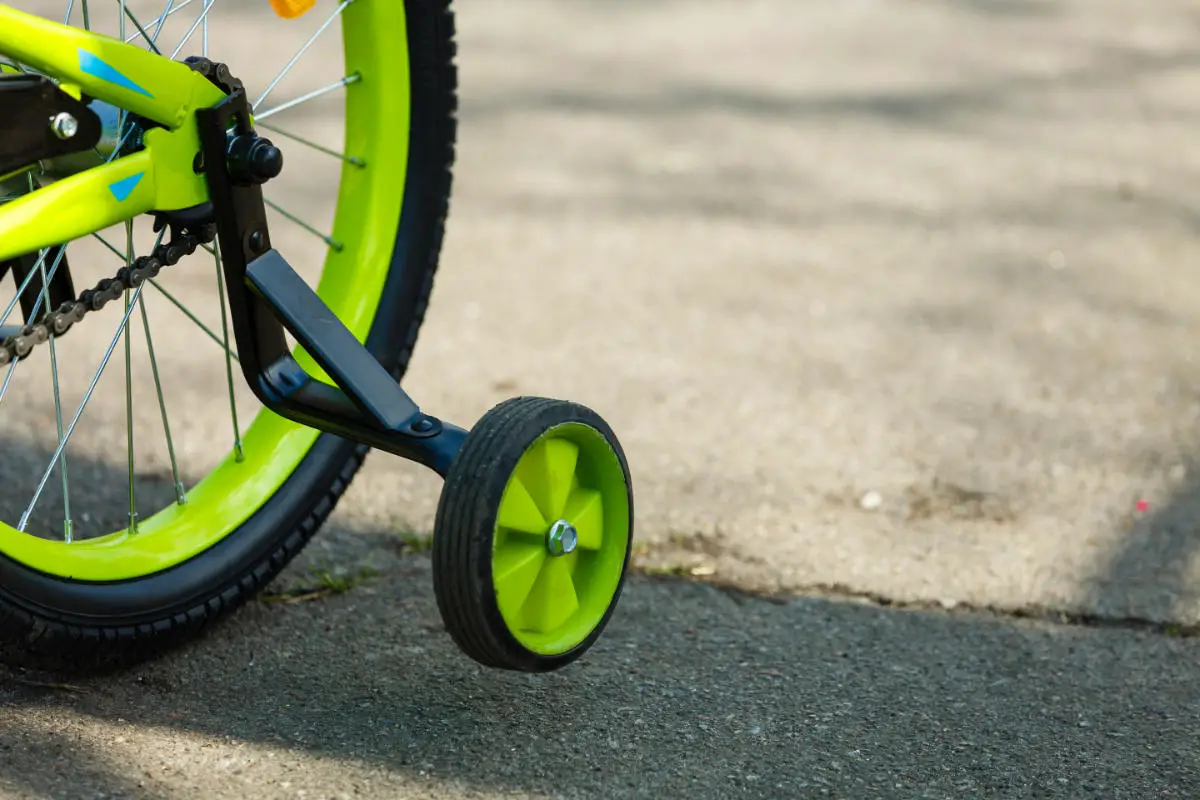
Training wheels, often called stabilizers, are an excellent tool for teaching young children how to ride a bicycle.
They give additional stability and balance, allowing children to concentrate on pedaling and steering without fear of crashing.
In this post, we will discuss how to install training wheels on a bicycle, including what equipment is required, how to adjust the wheels, and how to educate your child to ride with them.

What You’ll Need
You’ll need to grab a few tools and supplies before beginning. Here is a list of all the necessary items:
- Training wheels: Ensure that the training wheels you purchase are the correct size for your child’s bicycle. You must purchase the correct size training wheels for your child’s weight and the sort of bicycle they are riding.
- Screwdriver: A screwdriver is required to attach the training wheels to the bicycle. You should have both a Phillips head screwdriver and a flathead screwdriver on available, since the type of screws on your child’s bicycle may require one or the other.
- Wrench: On some bicycles, a wrench may be required to loosen or tighten the nuts on the training wheels. Make sure you have the correct size wrench for your child’s bicycle’s bolts.
Installing the Training Wheels
Now that you have all the necessary components, it is time to install the training wheels. Here is a step-by-step tutorial to assist with the process:
- Place the bicycle inverted on a level surface. This will enable access to the wheels and any required changes.
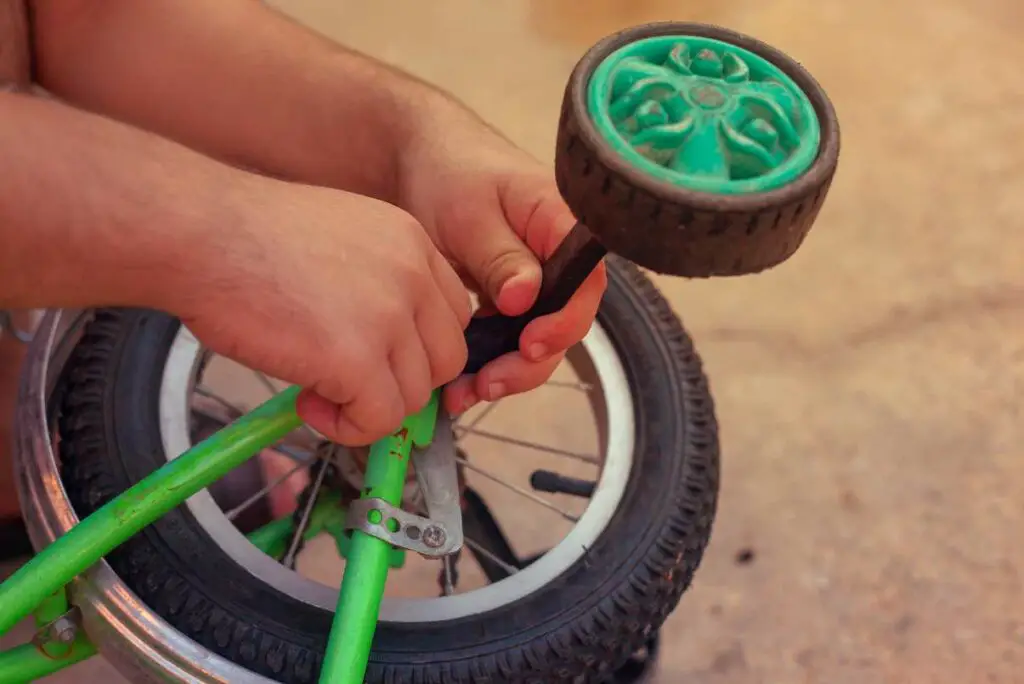
- Locate the training wheel mounting holes. The back frame of the majority of bicycles has slots designed for mounting training wheels. Typically, these holes are found around the rear axle of a bicycle..
- Install the training wheels on the bicycle. Each training wheel will be equipped with a bolt that passes through the frame’s hole and is secured with a nut. Use the screwdriver or wrench to loosen the nut, then thread the bolt through the frame’s hole and tighten the nut. Repeat the procedure for the second training wheel.
- Adjust the training wheels as necessary. Once the training wheels have been fitted to the bicycle, they must be adjusted to the proper height. The training wheels should be at ground level or slightly above ground level. If the training wheels are too low, they will drag on the ground and hinder your child’s ability to pedal. If they are overly tall, they will not provide sufficient support and stability.
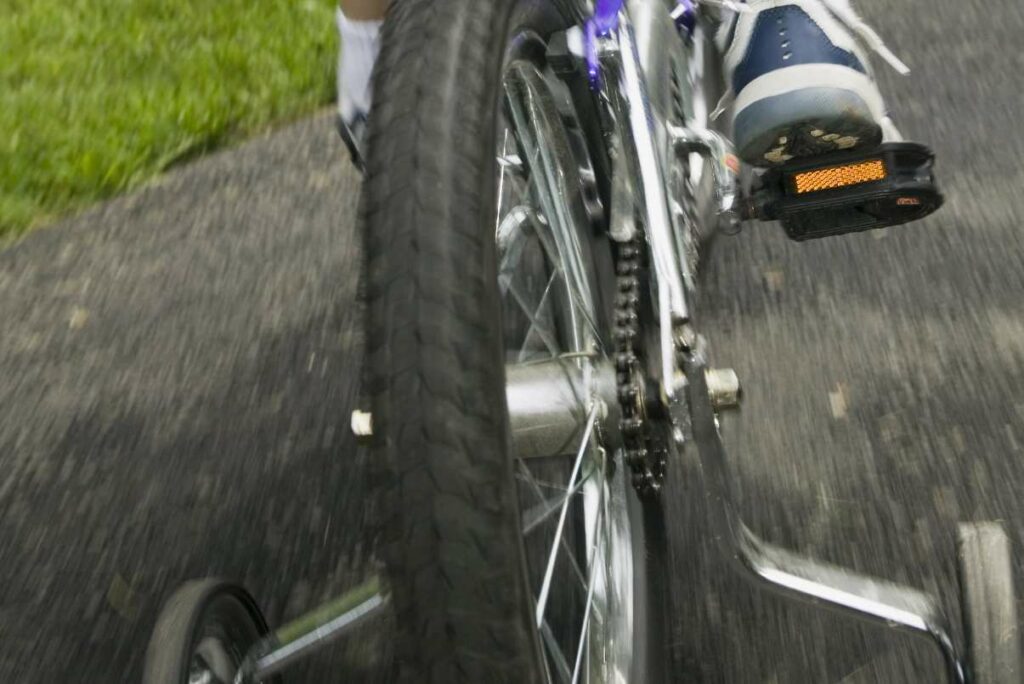
- Test the training wheels. After adjusting the training wheels to the correct height, it is advisable to test them to ensure that they are functioning properly. Have your youngster sit on the bike and pedal to determine whether or not the training wheels provide the required stability and balance. If the bicycle appears unsteady or wobbling, you may need to adjust the training wheels further.

Teaching Your Child to Ride with Training Wheels
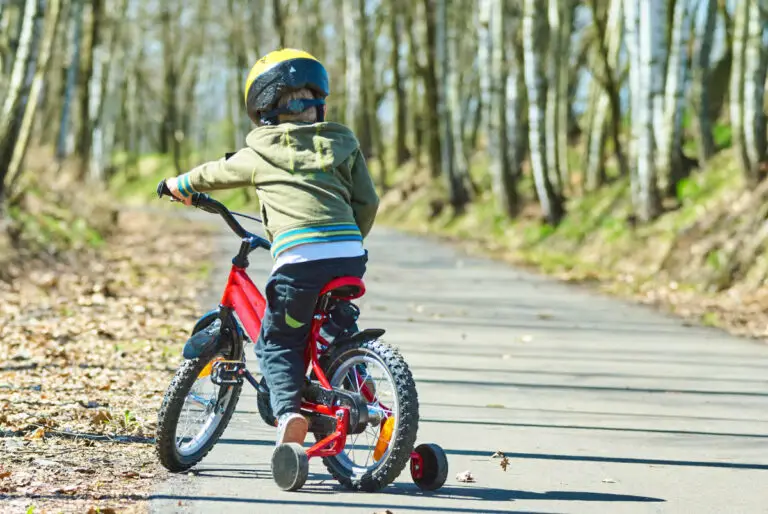
After installing training wheels on your child’s bicycle, it is time to begin teaching them to ride. Here are some tips for teaching your child to ride a bicycle with training wheels:
- Start slow: Start by having your child pedal around slowly and deliberately. This will allow children to become acquainted with the bicycle and training wheels.
- Practice steering: Once your youngster is comfortable with pedaling, you should begin teaching them how to steer. Have them practice twisting the handlebars to the left and right to acquire a feel for how the bicycle reacts.
- Encourage balance: While training wheels provide greater stability and balance, it is still essential for your youngster to learn how to balance independently. Encourage them to try balancing without holding onto anything, and as they gain confidence in their balance ability, gradually remove one of the training wheels.
- Gradually increase speed: As your child feels more comfortable on the bicycle, gradually increase the speed at which he or she rides. This will assist them to learn how to control the bike at various speeds and enhance their overall riding abilities.
Installing training wheels on a bicycle is a straightforward task that can help your youngster gain confidence while riding.
By following the instructions given in this article and engaging in consistent practice, your child will soon be able to ride a bicycle without training wheels. They’ll be great riders in no time with a little patience and practice!


